Outdoor Sauna and Cold Plunge Installation Guide | 2026
A Technical Guide to Outdoor Sauna and Cold Plunge Installation
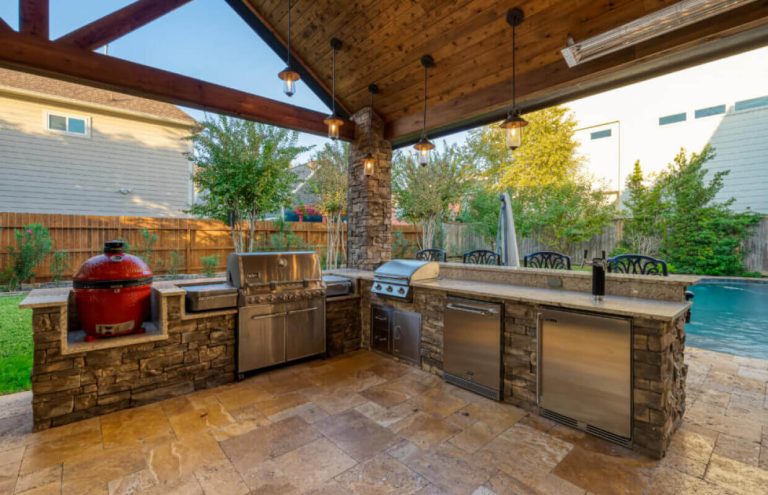
The integration of thermal therapy circuits into residential landscapes has shifted from a niche luxury to a standardized architectural consideration. By combining a high-heat environment with a rapid cooling vessel, property owners create a “contrast therapy” station. This setup requires a sophisticated understanding of wood science, thermodynamics, and water management. Because these structures are exposed to the elements and involve high-voltage electricity or wood combustion alongside significant water volumes, the installation must adhere to rigorous safety and engineering standards.
This guide provides a neutral, educational analysis of the requirements for an outdoor sauna and cold plunge installation. Readers will explore the technical differences between heating methods, the logistical demands of water filtration and drainage, and the structural considerations for various climates. By understanding the intersection of electrical load, moisture barriers, and site preparation, property owners can effectively plan a durable and compliant wellness suite.
Overview of Outdoor Sauna and Cold Plunge Installation
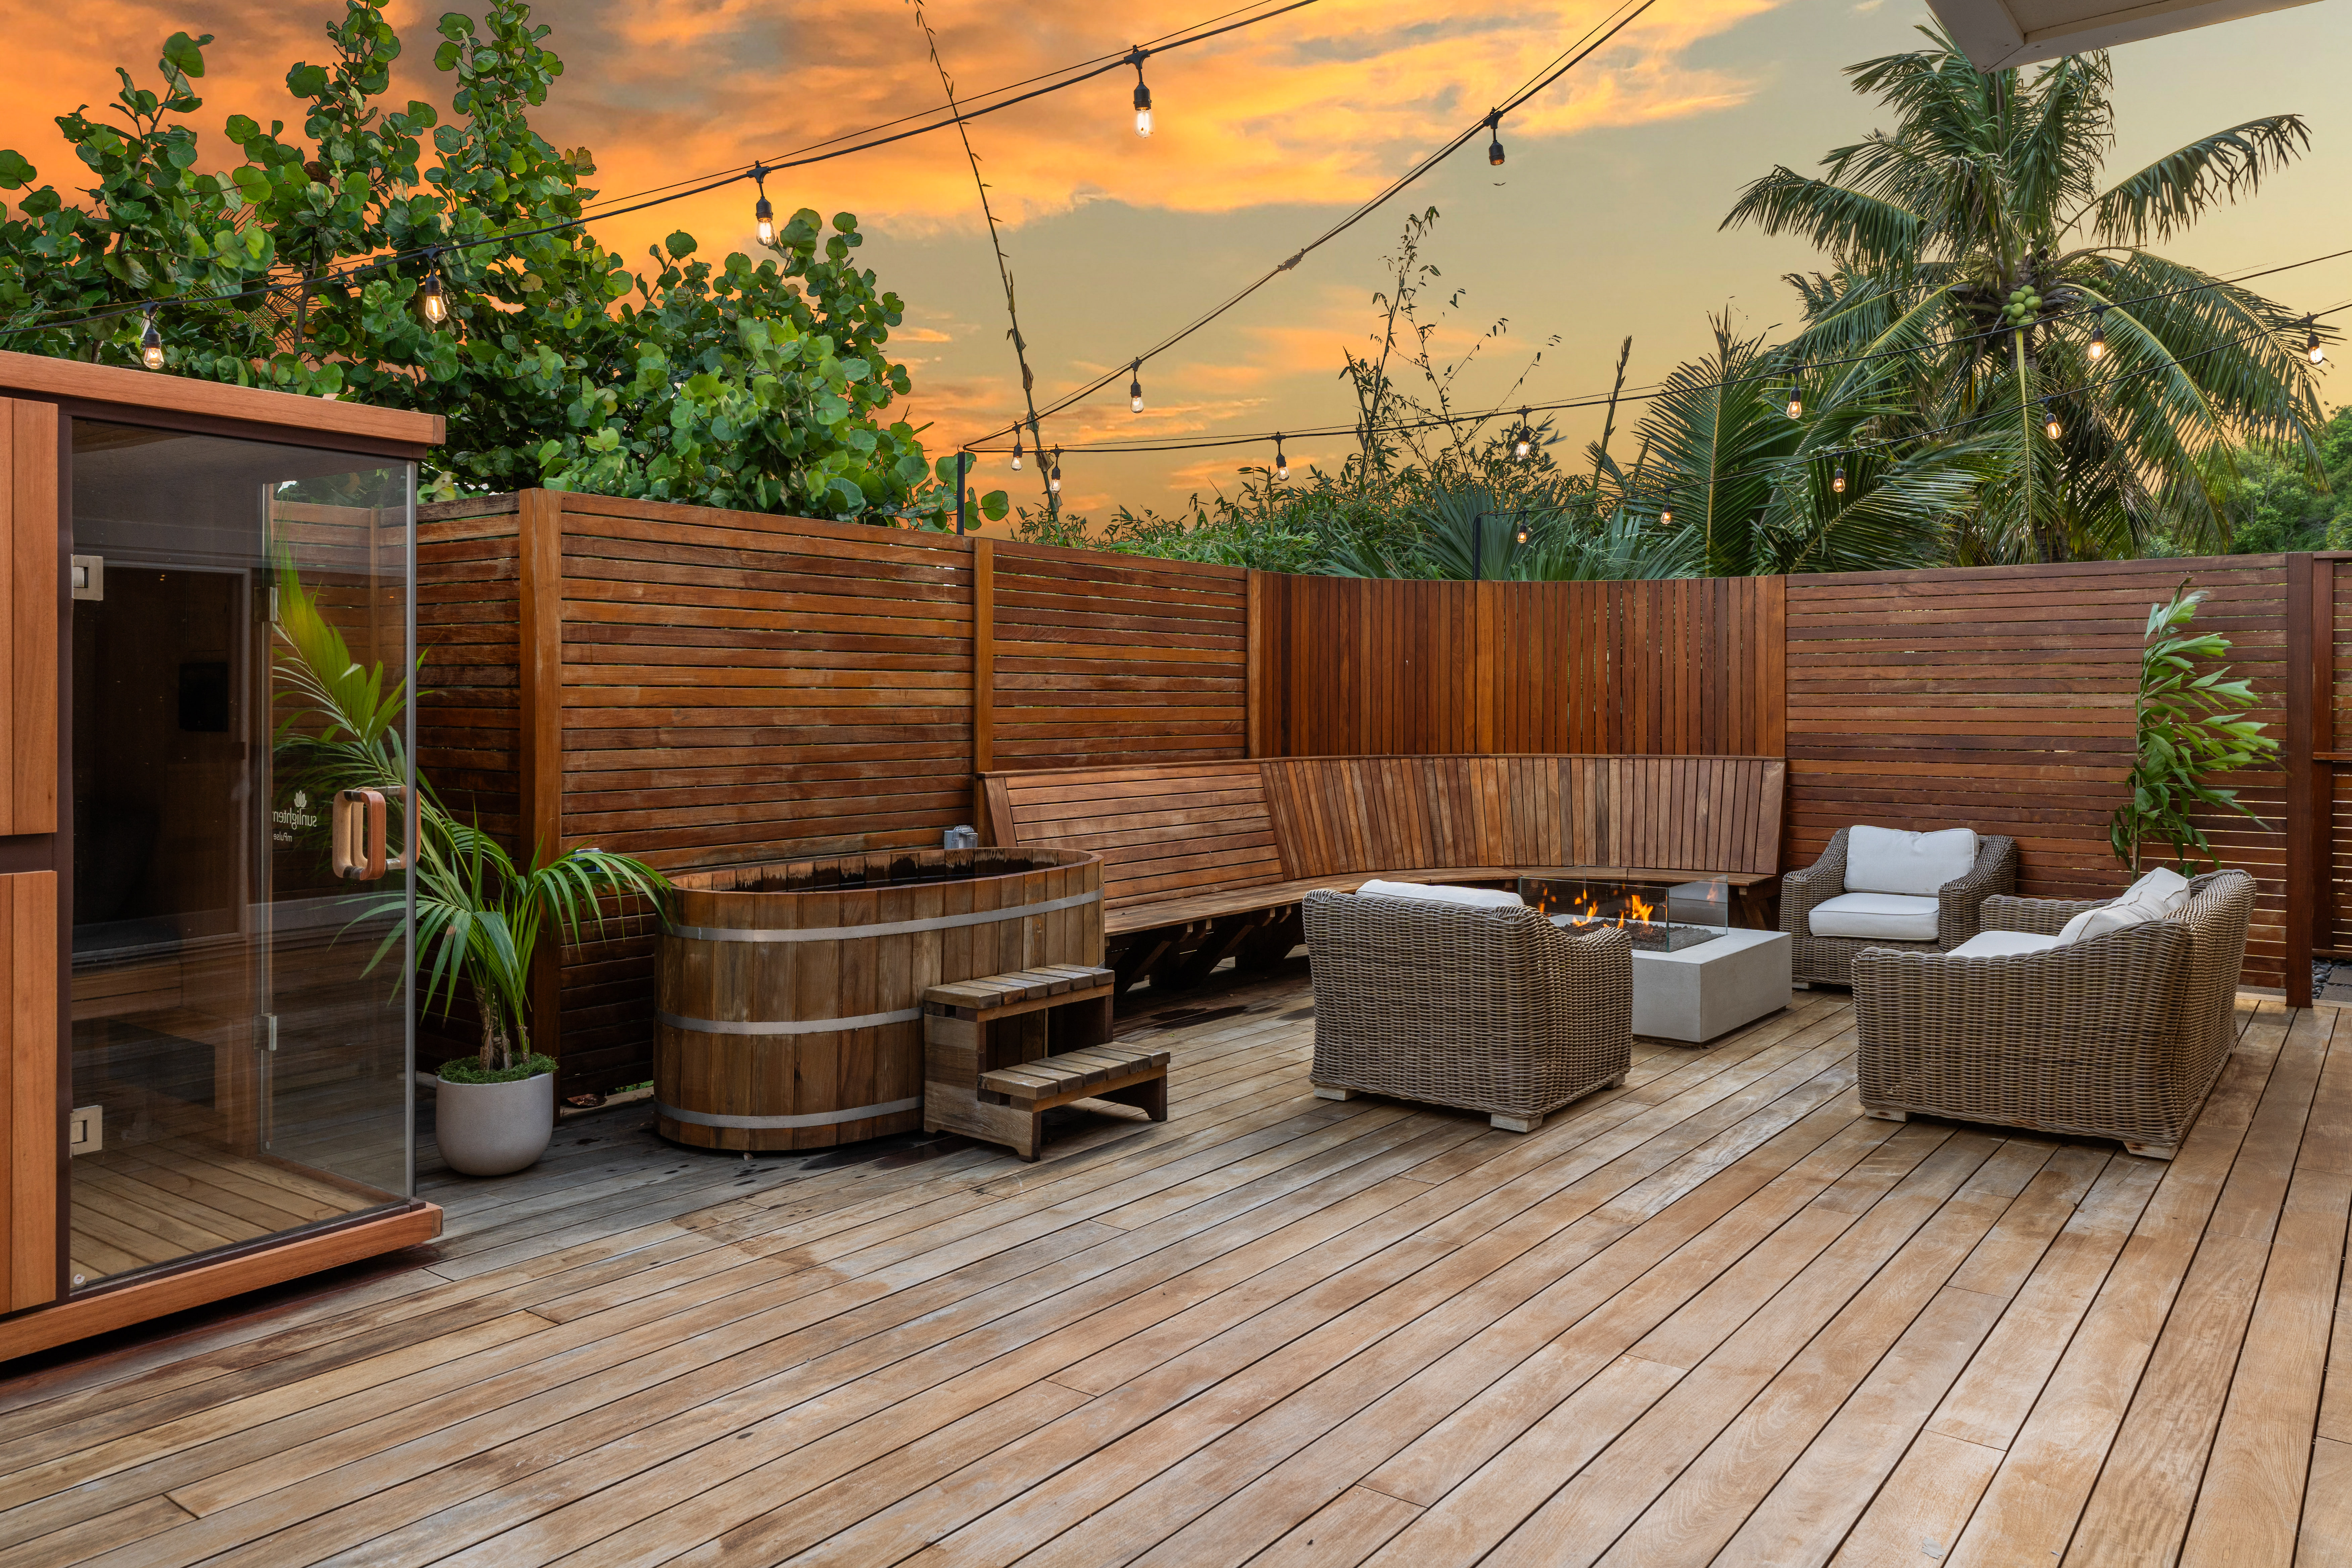
The core concept of an outdoor sauna and cold plunge installation is the creation of a controlled thermal environment. A sauna is an insulated room designed to reach temperatures between 160°F and 200°F, typically utilizing kiln-dried softwoods like Cedar, Hemlock, or Nordic Spruce which remain cool to the touch. The cold plunge is a secondary vessel, either a static tub or a filtered chiller system, maintained at temperatures ranging from 39°F to 55°F.
Property owners typically approach these projects with the goal of creating a year-round wellness retreat. Expectations include a structure that can retain heat efficiently even in sub-zero ambient temperatures and a cooling vessel that remains sanitary without excessive chemical use. A successful outcome relies on the “building envelope” of the sauna—ensuring a proper vapor barrier prevents rot in the framing—and a robust electrical or plumbing infrastructure that can handle the specific demands of high-kilowatt heaters and water chillers.
Key Categories of Sauna and Plunge Technology
Installation types vary primarily based on the heating method of the sauna and the cooling mechanism of the plunge.
| Category / Type | Description | Common Use Case | Effort / Cost Level |
| Electric Sauna | Uses high-voltage (240V) heaters with stones. | Urban/Suburban yards; ease of use. | Moderate / Mid-Range |
| Wood-Fired Sauna | Utilizes a wood stove and chimney system. | Remote/Rural sites; off-grid capable. | High / Premium |
| Infrared Sauna | Uses carbon or ceramic heaters for radiant heat. | Users sensitive to high ambient air temps. | Low / Economical |
| Chiller Plunge | A motorized unit that actively cools and filters water. | High-use residential; precise temp control. | Moderate / Premium |
| Static Plunge | An insulated tub requiring manual ice or water changes. | Occasional use; low electrical demand. | Low / Economical |
Choosing between these categories depends on utility availability and intended lifestyle. An electric sauna offers “set and forget” convenience but requires a dedicated 30-60 amp circuit. A wood-fired system provides a traditional experience but requires adherence to strict fire “setback” codes and chimney height regulations.
Practical Scenarios for Thermal Circuit Integration
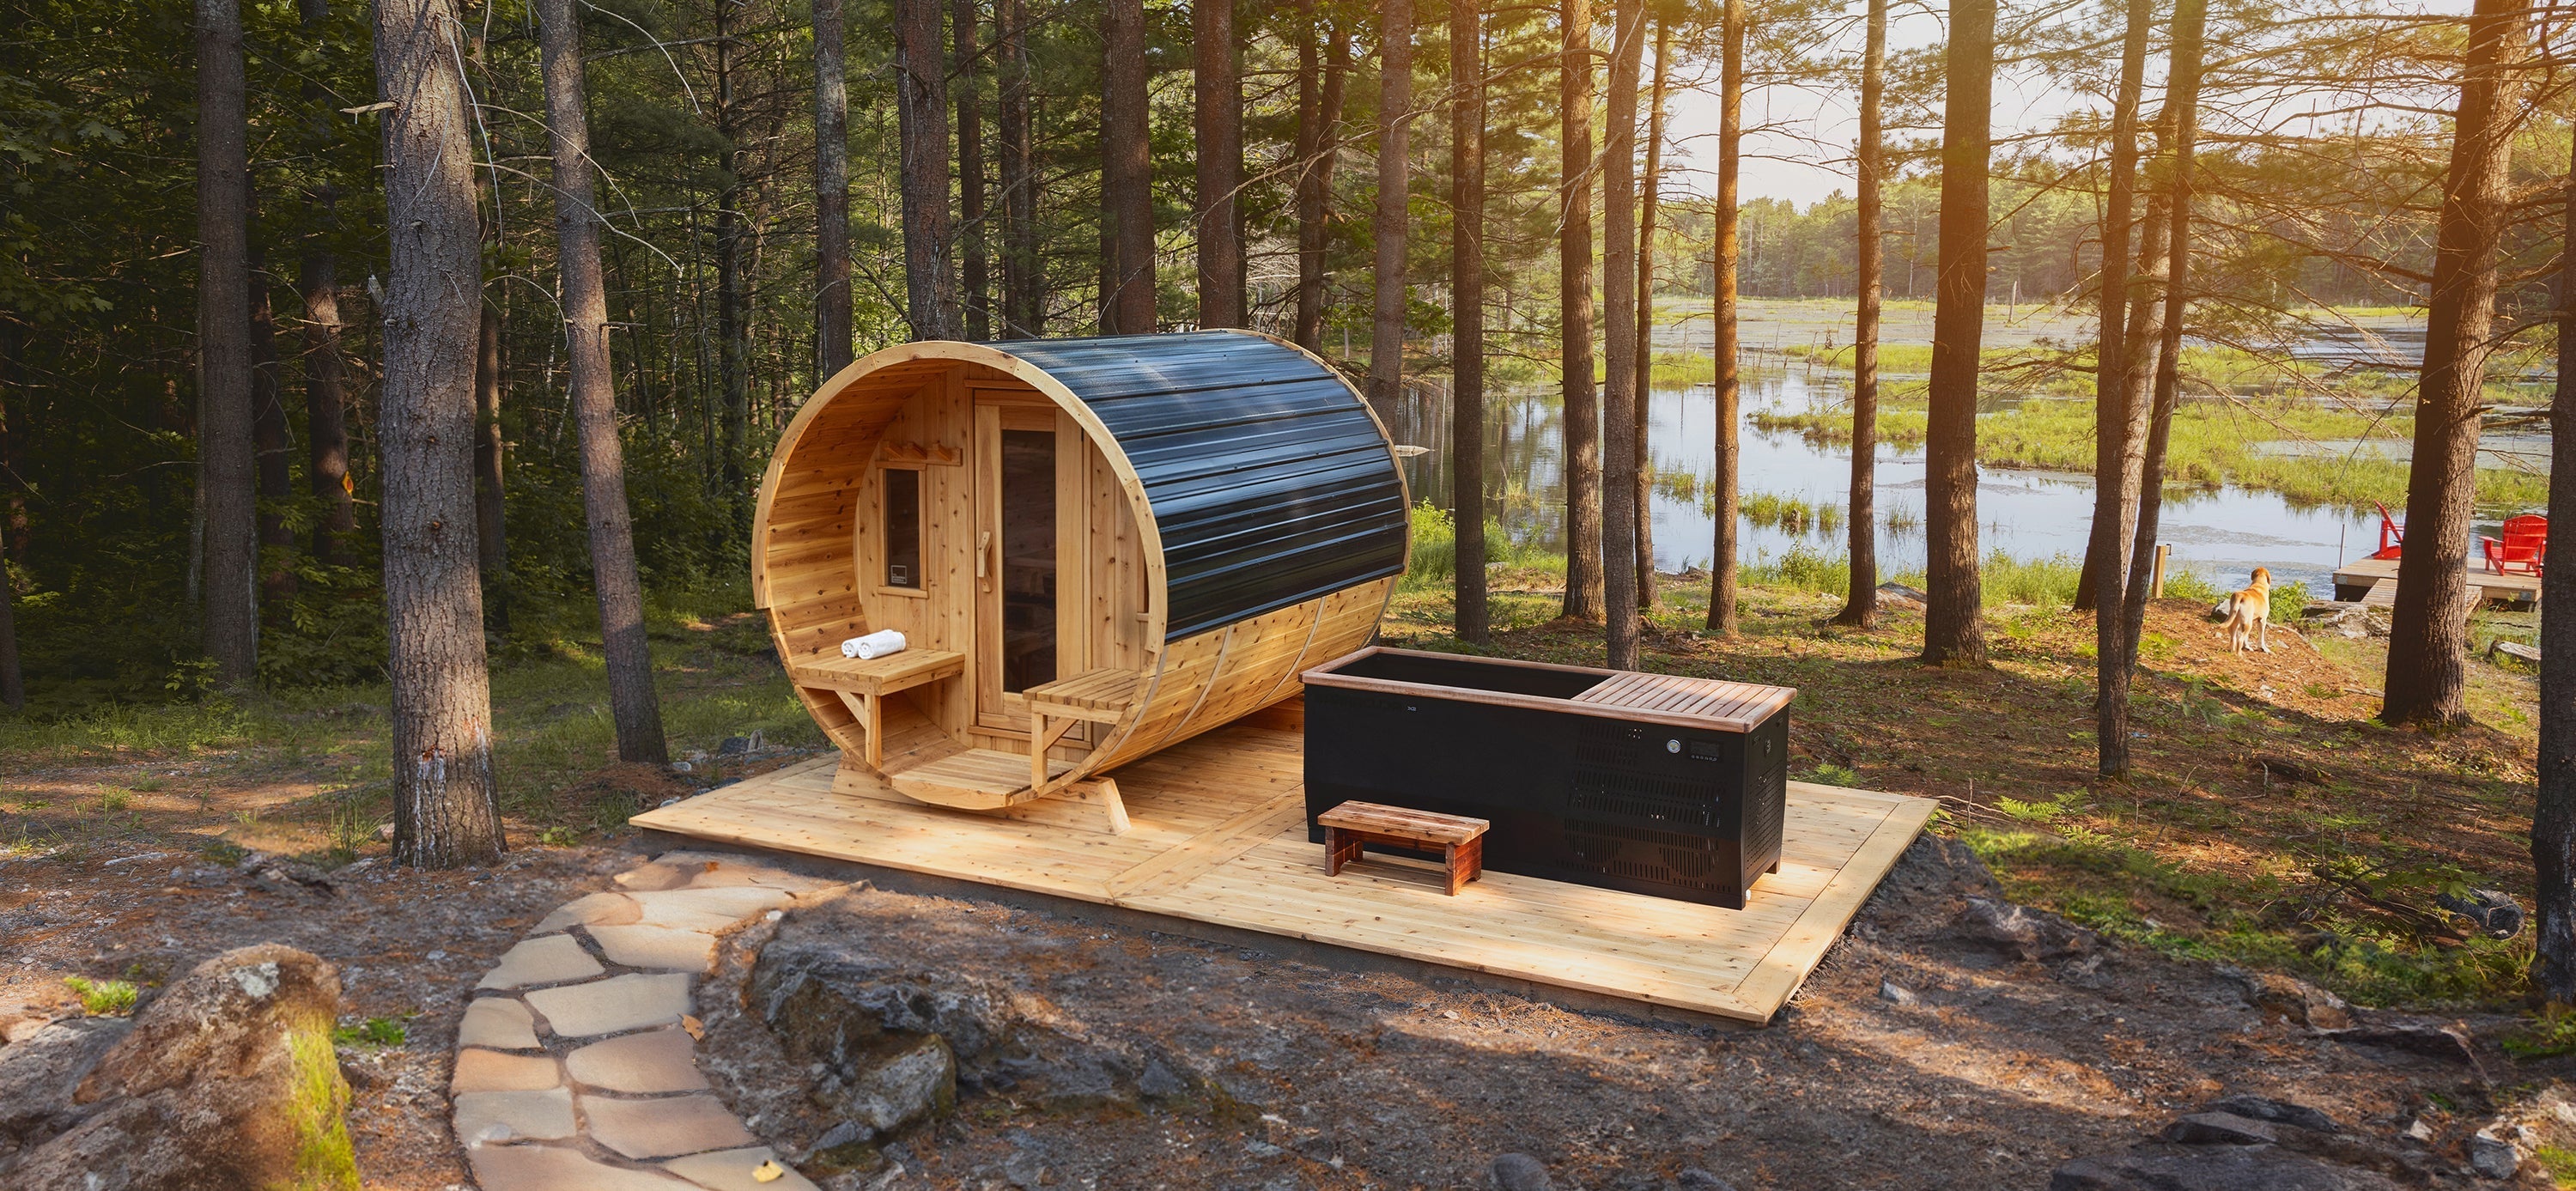
Scenario 1: The Modern Urban Suite
A compact installation for a metropolitan backyard where space is at a premium and aesthetics must be contemporary.
-
Components: A pre-fabricated barrel sauna, a 6kW electric heater, and a self-contained chiller plunge.
-
Process: Leveling a concrete or gravel pad, running a 240V line from the main panel, and ensuring the plunge has access to a standard GFC outlet.
-
Relevance: This scenario maximizes efficiency, utilizing the barrel shape’s natural convection to heat up quickly in small footprints.
Scenario 2: The Four-Season Mountain Retreat
Designed for extreme cold, where heavy snow loads and freezing pipes are the primary concerns.
-
Components: A cabin-style sauna with R-12 insulation, wood-fired stove, and a plunge tub with an “anti-freeze” bypass.
-
Process: Building a reinforced deck to handle snow weight and installing frost-protected drainage for the plunge.
-
Relevance: High-insulation walls are critical here to prevent the “thermal bridge” effect where heat escapes through the studs.
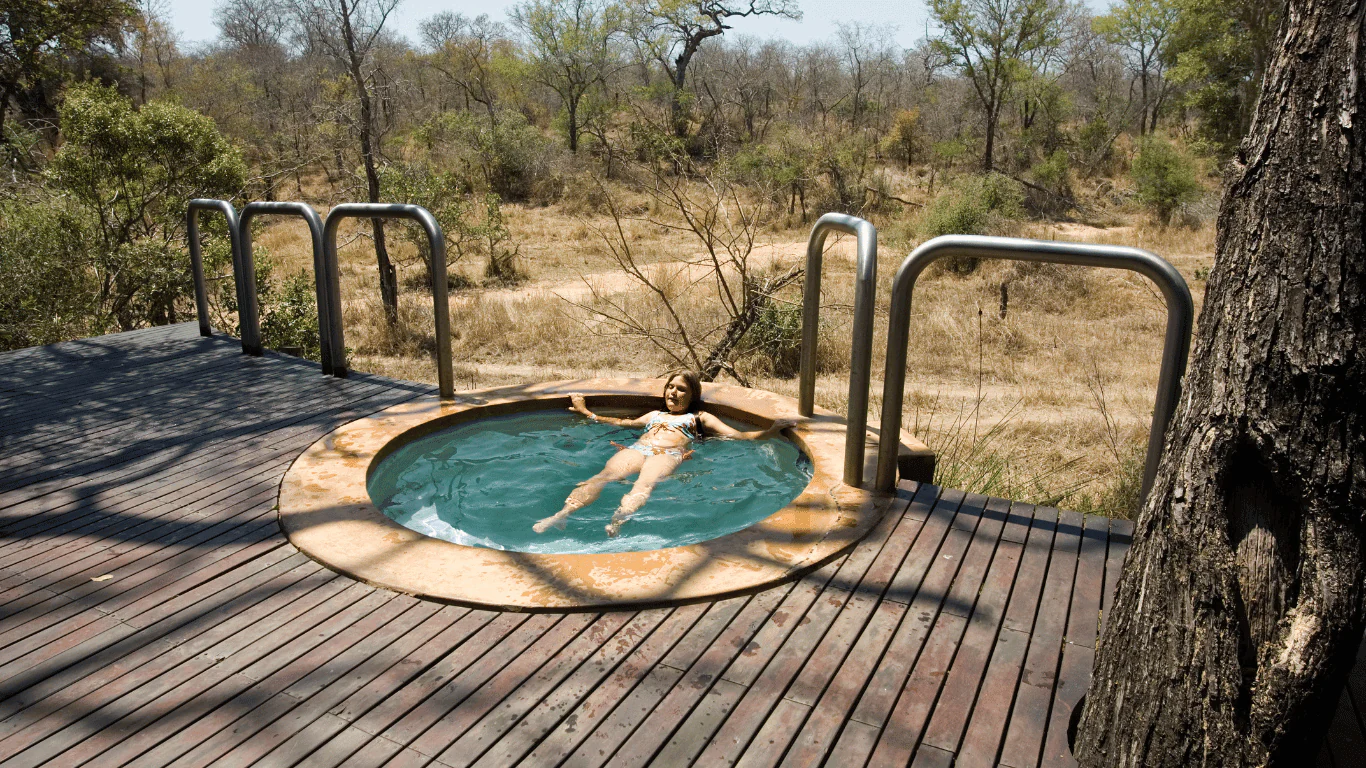
Scenario 3: The Off-Grid Lakeside Cabin
Focusing on self-sufficiency and integration with natural water sources.
-
Components: Custom-built cedar sauna, wood-burning stove, and a static “soaking” tub utilizing lake water.
-
Process: Clearing a non-combustible zone around the stove and implementing a manual gravity-drain for the tub to prevent stagnant water.
-
Relevance: This use-case avoids electrical infrastructure entirely, relying on traditional thermal mass and manual maintenance.
Comparison: Scenario 1 focuses on automated convenience; Scenario 2 prioritizes structural durability in harsh cold; Scenario 3 focuses on traditionalism and independence from utilities.
Planning, Budgeting, and Utility Logistics
The outdoor sauna and cold plunge installation process often reveals hidden costs in the site preparation and electrical upgrades.
| Category | Estimated Amount (USD) | Explanation | Optimization Tips |
| Sauna Unit | $5,000 – $15,000 | The structure, heater, and benches. | Pre-fab kits are cheaper than custom builds. |
| Electrical Work | $1,500 – $4,000 | 240V sub-panel and trenching. | Place the sauna near the home’s main panel. |
| Cold Plunge | $1,000 – $8,000 | The vessel and (optional) chiller. | Static tubs save on upfront and energy costs. |
| Site Prep | $1,000 – $3,000 | Concrete pad, gravel, or decking. | Ensure a 1% slope for water runoff. |
Note: Figures are illustrative examples for 2026 and vary based on material quality and regional labor.
Strategies for Temperature Regulation and Support
-
Vapor Barrier Management: Using aluminum foil barriers behind the cedar tongue-and-groove.
-
Pros: Reflects heat back into the room; protects the wall cavity from moisture.
-
Cons: Requires meticulous taping of seams to be effective.
-
-
Mechanical Ventilation: Implementing “low-in, high-out” vents.
-
Pros: Ensures oxygen levels remain safe; helps move heat evenly.
-
Cons: Can lead to heat loss if vents are oversized.
-
-
Water Chiller Filtration: Using ozone or UV-C filters for the plunge.
-
Pros: Reduces the need for chlorine/bromine; keeps water crystal clear.
-
Cons: Requires an always-on pump, increasing electricity usage.
-
-
Thermal Mass (Sauna Stones): Selecting high-density igneous rocks like Peridotite.
-
Pros: Stores heat for long-term radiation; allows for steam (loyly) generation.
-
Cons: Stones must be replaced every 2-3 years as they become brittle.
-
Safety, Risks, and Technical Challenges
-
Electrical Safety: Water and high-voltage electricity are in close proximity. Rule: All equipment must be GFCI-protected, and the cold plunge should be at least 5 feet away from the sauna heater to prevent accidental contact between different electrical potentials.
-
Fire Hazards: Wood-burning stoves can reach exterior temperatures of 500°F+. Prevention: Use “double-wall” chimney pipes and adhere to “clearance to combustibles” specifications (usually 18-36 inches).
-
Thermal Shock: Rapidly moving from $200^\circ F$ to $40^\circ F$ puts stress on the cardiovascular system. Advice: Users should consult medical professionals and ensure a “spotter” is nearby during initial sessions.
-
Wood Rot: Condensation trapped behind the sauna’s interior wood can rot the frame. Mitigation: Ensure a 3/4-inch “air gap” exists between the foil barrier and the cedar boards.
Maintenance and Long-Term Management
A consistent management schedule preserves the wood and water quality of the installation.
-
Sauna Wood Care: Never paint or varnish the interior. Lightly sand the benches annually to remove skin oils and prevent staining.
-
Plunge Sanitation: Test water chemistry weekly. If using a static tub without a filter, change the water every 3–5 days to prevent bacterial growth.
-
Heater Inspection: For electric units, check the heating elements for “sagging” or hotspots. For wood units, clean the chimney flue annually to prevent creosote fires.
-
Drainage Clearing: Ensure the area around the plunge is free of debris so that overflow water does not pool and damage the sauna foundation.
Documentation and Compliance
Maintaining records is essential for insurance and property resale value.
-
Electrical Certifications: Store the signed inspection card from the local building department verifying the 240V hookup.
-
Manufacturer Data: Keep the manual for the heater and chiller, as these often contain specific troubleshooting codes.
-
Example 1: A homeowner provides a “Permit of Occupancy” to their insurance company to ensure the outdoor structure is covered under the “other structures” policy.
-
Example 2: An owner documents the “start-up” amperage of the chiller to monitor for motor wear over a five-year period.
Closing Summary
A successful outdoor sauna and cold plunge installation combines the structural requirements of a high-heat building with the sanitation needs of a cooling vessel. By prioritizing proper vapor barriers, dedicated electrical circuits, and safe “setback” distances, property owners can ensure a durable wellness station that functions efficiently across all seasons.